 I store the content of this website in a database. I charge my cell phone on the go using a power bank. My money earns negative interest at a bank branch. I recently started owning a pretty garden bench.
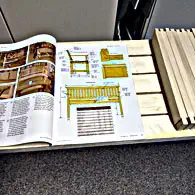 Back in 2009, in the May/June issue of HolzWerken magazine, I had author Roland Heilmann's building instructions for a beautiful garden bench with a bookmark - not a dog-eared one! - marked as a desired project. No time? No material? No place? Idleness? It's hard to say why it took several years until the first chips finally started flying.
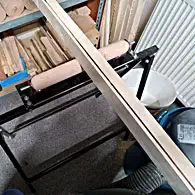 Depending on the workshop equipment, the construction instructions estimate 25 to 35 working hours. I won't reveal here how many times I actually needed - all in all! Even handling the boards, which are too long for my standards (keyword: Miniature Woodworks!), and roughly preparing the parts takes an unusually long time. I constantly have to twist and move the circular saw and planer in the small workroom and literally thread the long parts. The construction of temporary rolling stands also takes some time.
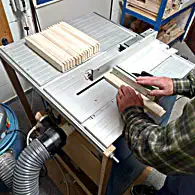 Anyone who has worked out the numerous required tenon and bung connections cleanly and precisely will have a completely new idea of the term “bank details”. Forming the tenons on the rungs for the backrest is still progressing quite quickly on the circular saw.
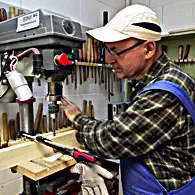 The bungholes that are supposed to accommodate the tenons are a bigger challenge. I don't have a slot drill available for this. However, I installed a cross slide on the work table of my pillar drill a long time ago. This means I can at least make elongated holes on the side.
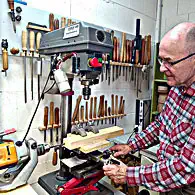 The column length of the bench drill is usually not sufficient for drilling into the end grain sides. As a work-around, I mounted a hand drill in a horizontal orientation using a stable holder next to the pillar drill. The method is a bit laborious, but as a stopgap it's better than no solution at all!
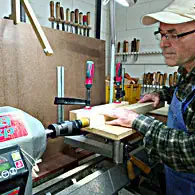 To connect the front studs to the armrests, I made an annular groove in the studs using a crown saw clamped into the lathe...
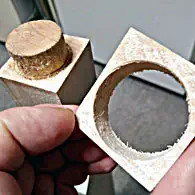 ...and the excess wood was removed using a Japanese hand saw. Due to the lack of a precisely fitting Forstner drill, I milled the corresponding basic holes in the armrests using a hand router (copying sleeve and a suitable template).
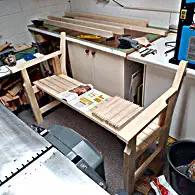 The work is progressing without accidents and without any significant setbacks, but at times the workshop is so cramped that I feel like I'm in a climbing forest.
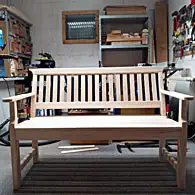 Before gluing, I made sure once again that the bench could be transported as a whole from the basement into the daylight. Because of its waterproofness and the ability to compensate for small inaccuracies at the connection points through foaming, I chose PUR glue. An exception is the backrest: I used D3 white glue to glue the rungs. This is simply easier to dose and the rungs are already fixed in a form-fitting manner between the upper and lower backrest.
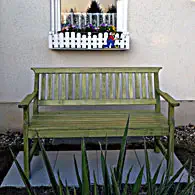 Almost there: The bench has now been treated twice with Livos terrace oil in the color avocado and has been given a worthy place in front of our house. Soon I will anchor it to the ground with a few small stainless steel brackets so that one day the garbage disposal doesn't ask: "Is that art or can it go away?"!

